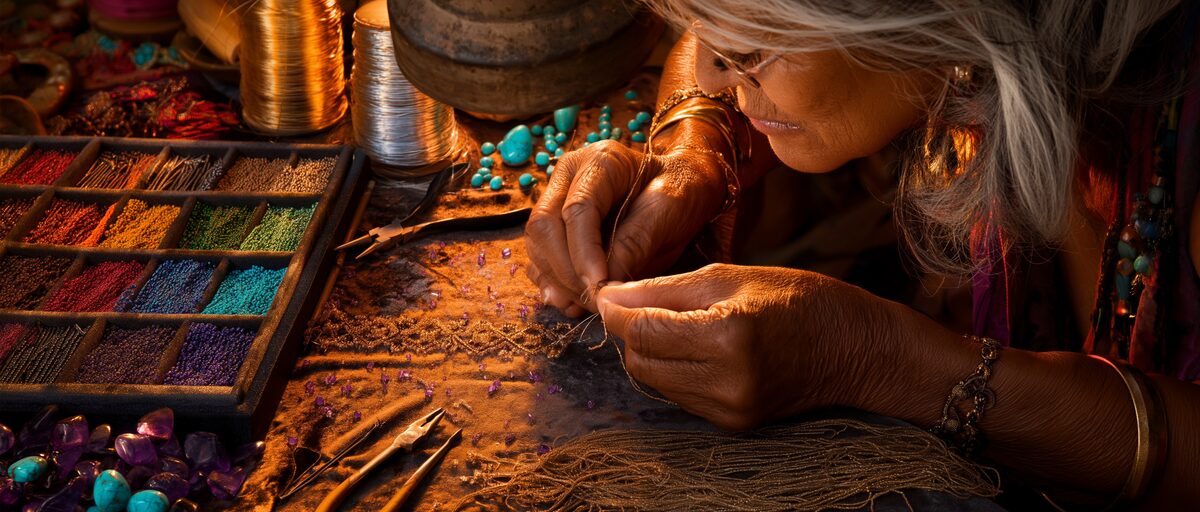
Embroidery and Needlecraft
Embroidery and Needlecraft
Embroidery, cross stitch, needlepoint and tapestry are among the most accessible creative pursuits you can pick up. No electricity, no expensive equipment, no dedicated workspace - just fabric, thread, a needle and a comfortable chair. Whether you prefer the freeform creativity of embroidery, the satisfying grid-based precision of cross stitch, or the gentle simplicity of a pre-printed tapestry kit, there is a branch of needlecraft to suit every temperament and skill level.
The craft is also one of the few hobbies that genuinely rewards you from the very first session. Progress is visible almost immediately, the repetitive rhythm of stitching is widely recognised for its calming effect on the mind, and the finished pieces - from small framed designs to cushion covers and wall hangings - carry a handmade satisfaction that is difficult to replicate any other way.
Embroidery and Needlecraft: A Beginner-Friendly Guide to Getting Started
Whether you are picking up a needle for the first time or returning to a craft you once loved, embroidery and needlecraft offer one of the most accessible and rewarding creative outlets available.** With nothing more than fabric, thread and a needle, you can produce everything from small decorative pieces to large wall hangings - working at your own pace, in your own space, with very little setup required. This guide introduces the four most popular branches of needlecraft, explains what makes each one different, and helps you decide which direction suits you best.
What Falls Under Needlecraft?
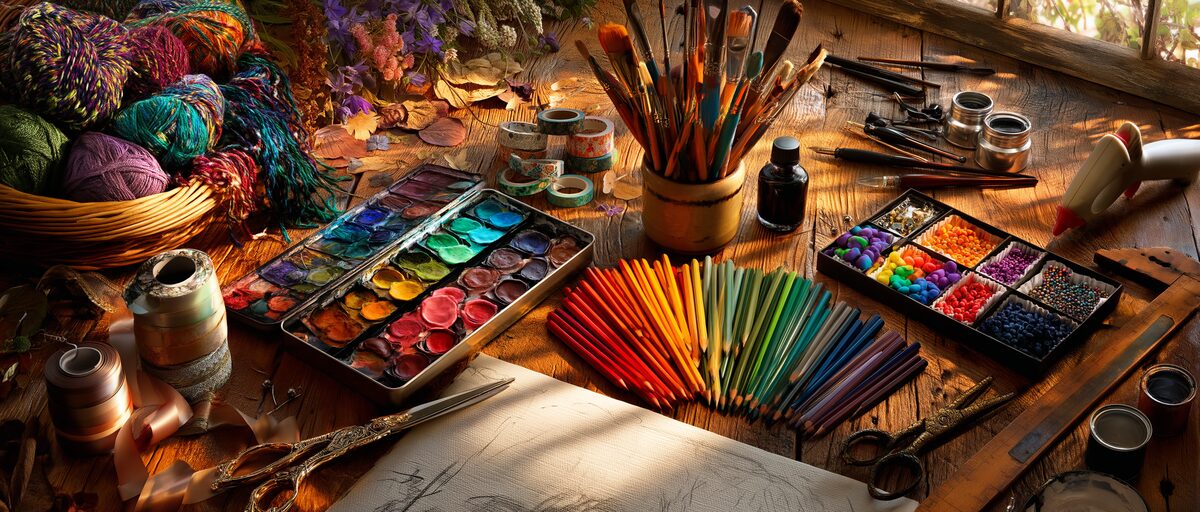
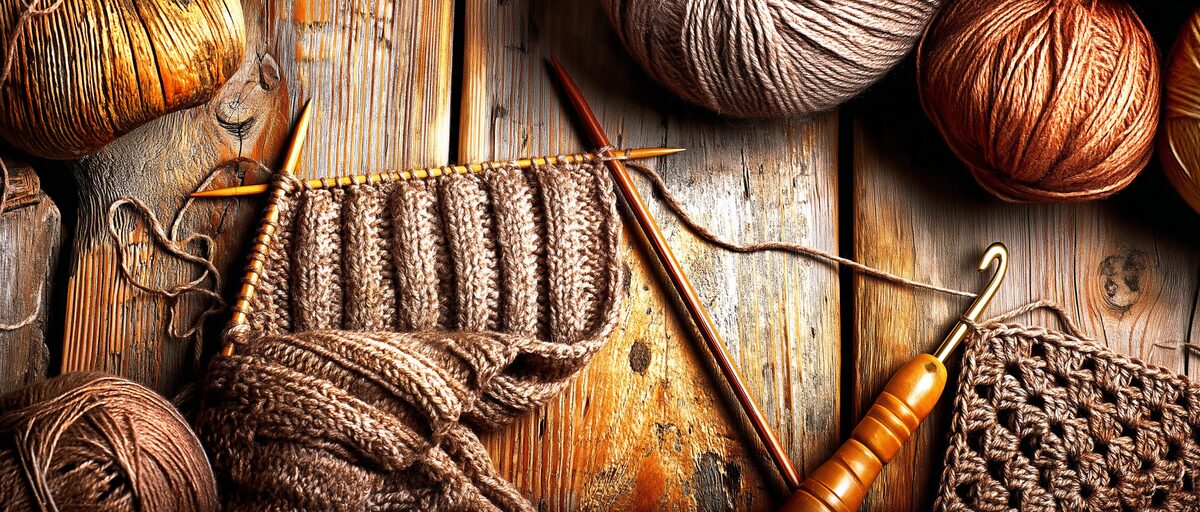
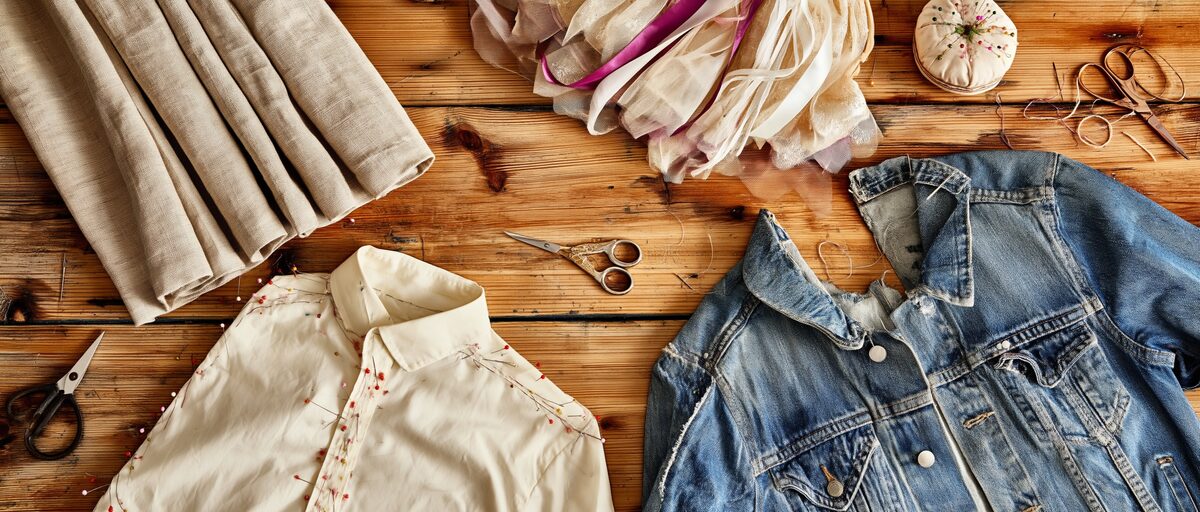
Needlecraft is a broad term covering any craft that uses a needle and thread or yarn to create decorative or functional textile work. The four disciplines most people encounter first are embroidery, cross stitch, needlepoint and tapestry. While they share common roots and overlapping techniques, each has its own character, tools and learning curve. All four are portable, quiet and surprisingly affordable to begin. None of them require electricity, expensive equipment or a dedicated workspace. A comfortable chair and good lighting are genuinely all you need.
Embroidery
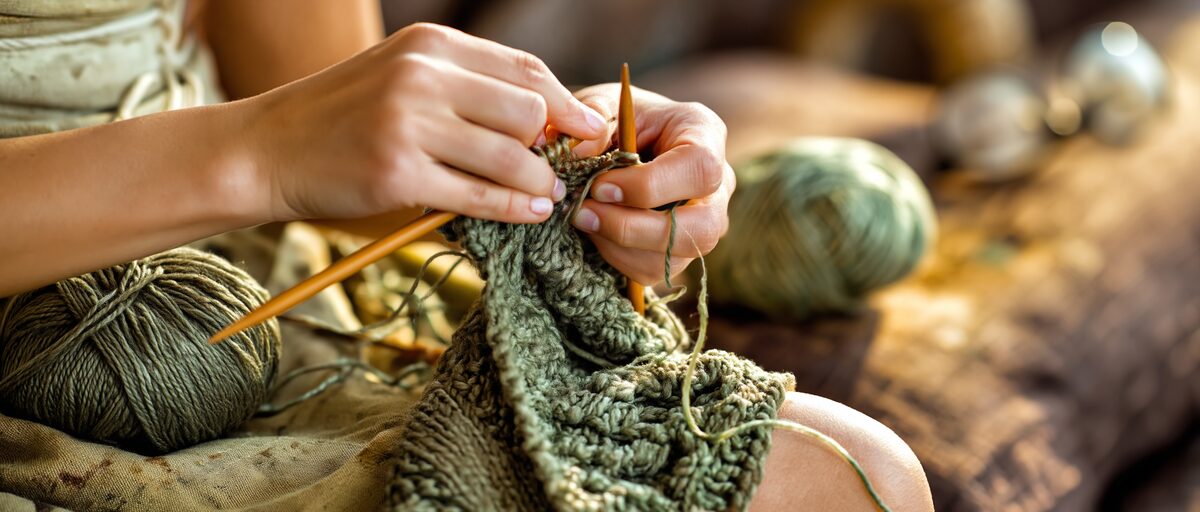
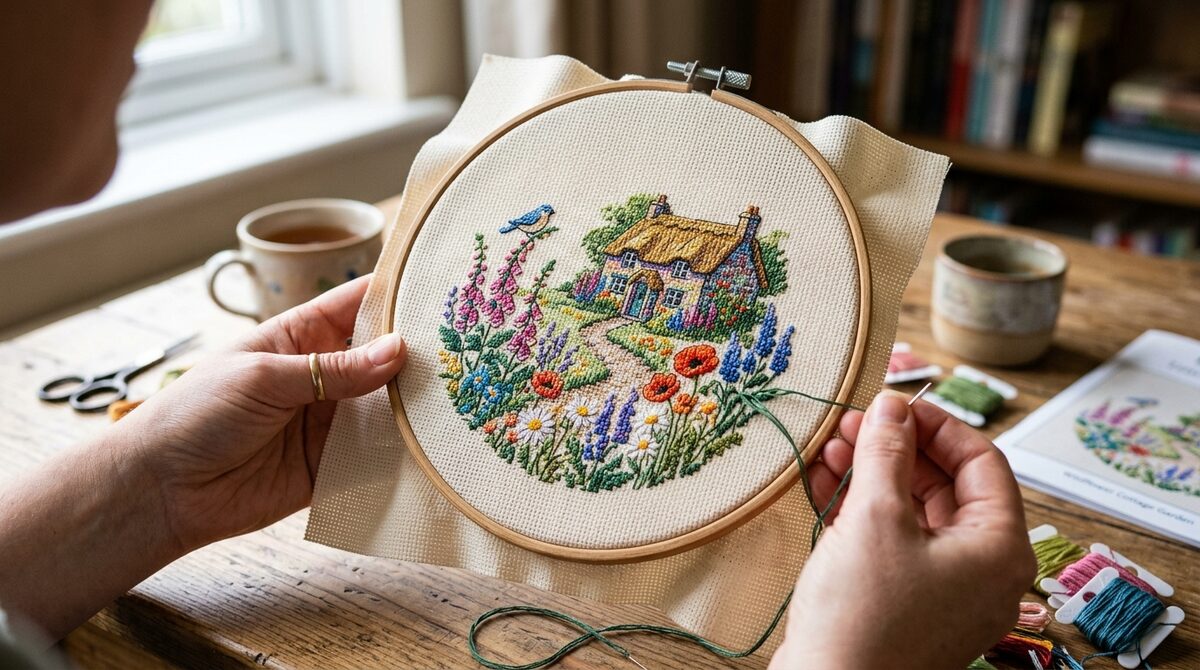
Embroidery is the art of decorating fabric using a needle and coloured thread. It is the most freeform of the four disciplines, offering dozens of individual stitches that can be combined to create textures, patterns, lettering and realistic images.
Modern embroidery has seen a significant revival in recent years, with contemporary artists pushing the craft well beyond traditional floral designs into portraiture, abstract art and even political commentary. That said, traditional techniques remain just as popular and just as satisfying to learn.
What makes embroidery distinct is the freedom it offers. You can work on almost any fabric, follow a printed pattern or design something entirely your own. There is no grid to follow and no strict rules about which stitches to use where. This makes it wonderfully creative but can feel slightly daunting for complete beginners who prefer clear structure.
You will need: an embroidery hoop, embroidery needles, stranded embroidery thread (often called floss), and a piece of fabric. Starter kits that include all of these along with a printed pattern are widely available and represent the easiest way to try the craft without committing to a large outlay.
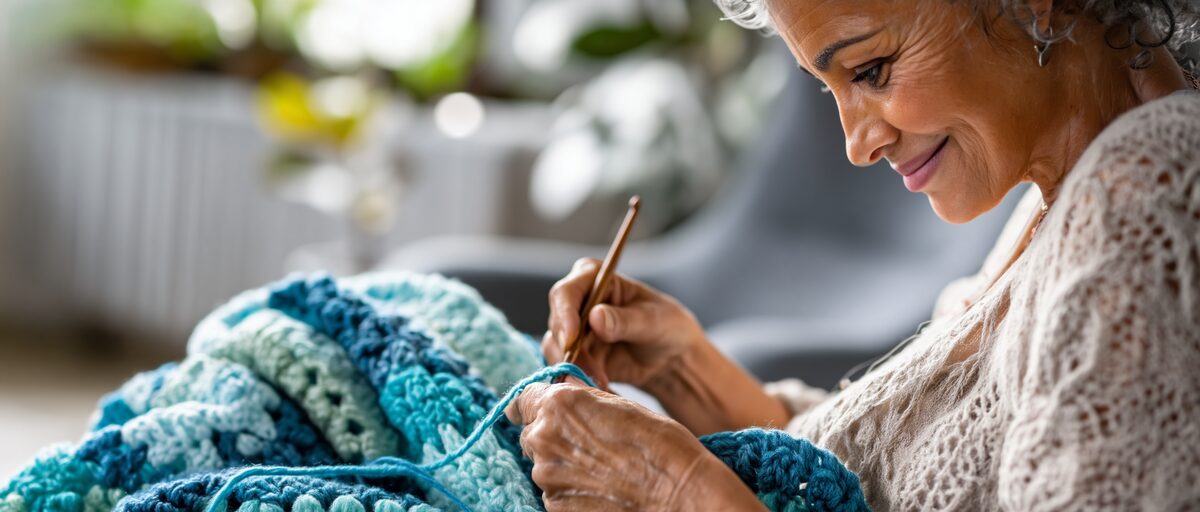
Cross Stitch
Cross stitch is a counted-thread technique where small X-shaped stitches are worked on an even-weave fabric to build up a design, one square at a time. If embroidery is freehand drawing, cross stitch is colouring by numbers - and that is meant as a genuine compliment.
The structured, grid-based nature of cross stitch makes it one of the most beginner-friendly needlecrafts available. Each stitch is identical, placement is guided by a chart, and progress is visible almost immediately. It is repetitive in the best possible sense - rhythmic, calming and deeply satisfying as a picture gradually emerges from what started as a blank piece of fabric.
What makes cross stitch distinct is its precision and predictability. You always know exactly what the finished piece will look like before you begin. Patterns range from tiny bookmark designs that take an afternoon to enormous full-coverage pieces that can occupy months or even years of evening stitching.
You will need: Aida fabric (a stiff, gridded fabric designed specifically for cross stitch), a tapestry needle (blunt-tipped, since you are stitching through holes rather than piercing fabric), embroidery thread, a hoop or frame, and a pattern chart. As with embroidery, complete starter kits are readily available.
Needlepoint
Needlepoint - sometimes called canvas work - involves stitching yarn through a stiff, open-mesh canvas to create a densely covered textile. Unlike cross stitch, which leaves much of the background fabric visible, needlepoint typically covers the entire canvas surface with stitching.
The result is a thick, hard-wearing fabric that has traditionally been used for cushion covers, chair seats, footstools, kneelers and similar furnishings. Contemporary needlepoint has expanded to include wall art, bags, belts, spectacle cases and decorative pieces of all kinds.
What makes needlepoint distinct is its durability and texture. Because every thread of the canvas is covered, the finished piece has a satisfying weight and substance to it. Needlepoint also offers a wider variety of decorative stitches than cross stitch, allowing for interesting textural effects within a single piece.
You will need: needlepoint canvas (available in different mesh sizes, with larger mesh being easier for beginners), tapestry yarn or Persian yarn, a blunt tapestry needle, and either a chart or a hand-painted canvas with the design already printed on it. Hand-painted canvases remove the need to count stitches entirely, which some stitchers prefer.
Tapestry
The word tapestry causes more confusion than any other term in needlecraft, because it is used to mean different things in different contexts. Historically, tapestry refers to a woven textile - produced on a loom rather than with a needle. The Bayeux Tapestry, despite its name, is actually an embroidered piece, which gives you some idea of how long this naming confusion has existed.
In modern craft usage, tapestry most often refers to a style of needlepoint that uses simple tent stitch (a single diagonal stitch) to fill a printed or painted canvas. Pre-printed tapestry kits, where the design and colours are already marked on the canvas, remain one of the most popular entry points into needlecraft worldwide.
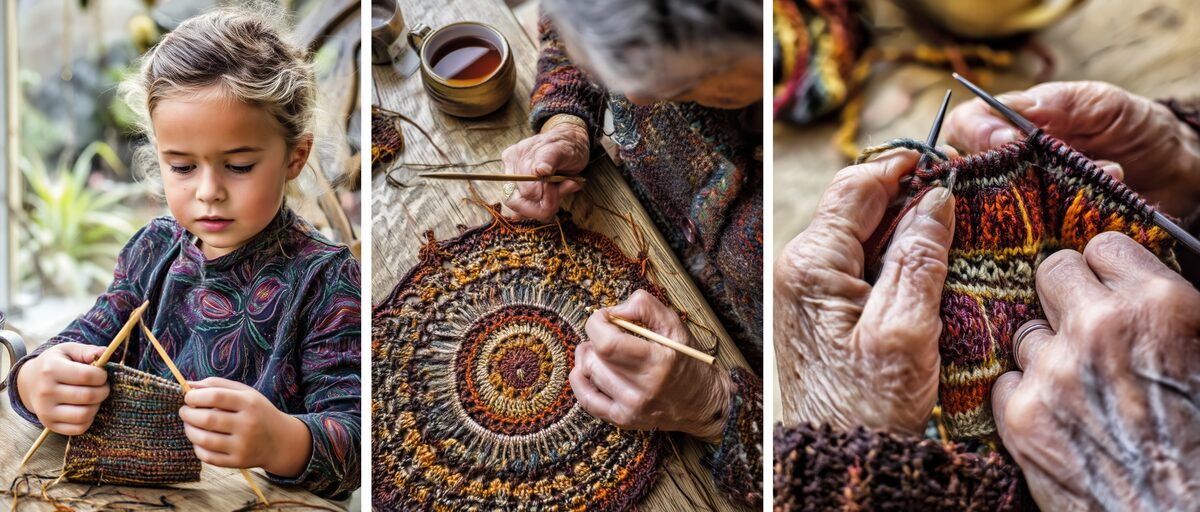
What makes tapestry kits distinct is their simplicity. There is almost no decision-making involved - the canvas tells you which colour goes where, and only one stitch type is used throughout. This makes them ideal for absolute beginners, for children learning to stitch, or for anyone who wants a relaxing project they can pick up and put down without needing to concentrate heavily.
You will need: most tapestry kits include everything required - a printed canvas, pre-sorted yarn and a needle. This all-in-one approach is one of the reasons they remain so popular.
Which One Should You Try First?
There is no wrong answer here, but a few honest pointers may help.
- If you want maximum creative freedom and enjoy drawing or painting, freeform embroidery will likely appeal to you most. It has the steepest initial learning curve of the four, but the creative ceiling is essentially unlimited.
- If you like order, patterns and visible progress, cross stitch is hard to beat. The grid structure makes it easy to pick up and the range of available patterns - from simple to extraordinarily complex - means you will never run out of projects.
- If you want to make something functional like a cushion cover or a bag, needlepoint produces the most hard-wearing finished textile of the group.
- If you have never held a needle before and want the gentlest possible introduction, a pre-printed tapestry kit will get you stitching with confidence within minutes.
Many stitchers end up practising more than one discipline. The skills transfer well between them, and the tools overlap significantly. Starting with one does not lock you out of the others - quite the opposite.
A Note on the Health Benefits
Needlecraft is increasingly recognised for its positive effects on mental wellbeing. The repetitive, focused nature of stitching has been compared to meditation in its ability to reduce stress and quiet an overactive mind. It also exercises fine motor skills in the hands and fingers, and the sense of accomplishment from completing a handmade piece carries a satisfaction that is difficult to replicate any other way.
It is worth mentioning that good lighting and an appropriate seating position make a genuine difference to both comfort and enjoyment. Stitching in poor light or hunched over a frame for extended periods can strain your eyes and neck. A daylight lamp and a comfortable setup are small investments that pay for themselves quickly in terms of the hours of enjoyment they support.
Getting Started Without Overthinking It
The single best piece of advice for anyone considering needlecraft is simply to begin. A starter kit in whichever discipline appeals to you most, a quiet hour, and a willingness to make imperfect stitches - that is genuinely all it takes. Every experienced stitcher started with a first, slightly wonky stitch. The craft rewards patience, and the learning curve for all four disciplines is gentler than most people expect.